Follow these steps to set up the Bynder environment on your website.
Prerequisites:
- Have a Bynder account
Install Bynder with composer: composer require drupal/bynder:^4. When updating from an earlier version, add the argument --update-with-dependencies. After that, enabling Bynder (drush en bynder) will enable all required modules.
Optionally, also add:
- dropzonejs which is used for the upload of new documents directly from your Drupal website.
- entity_usage which is required for the optional submodule bynder_usage to track bynder media usage.
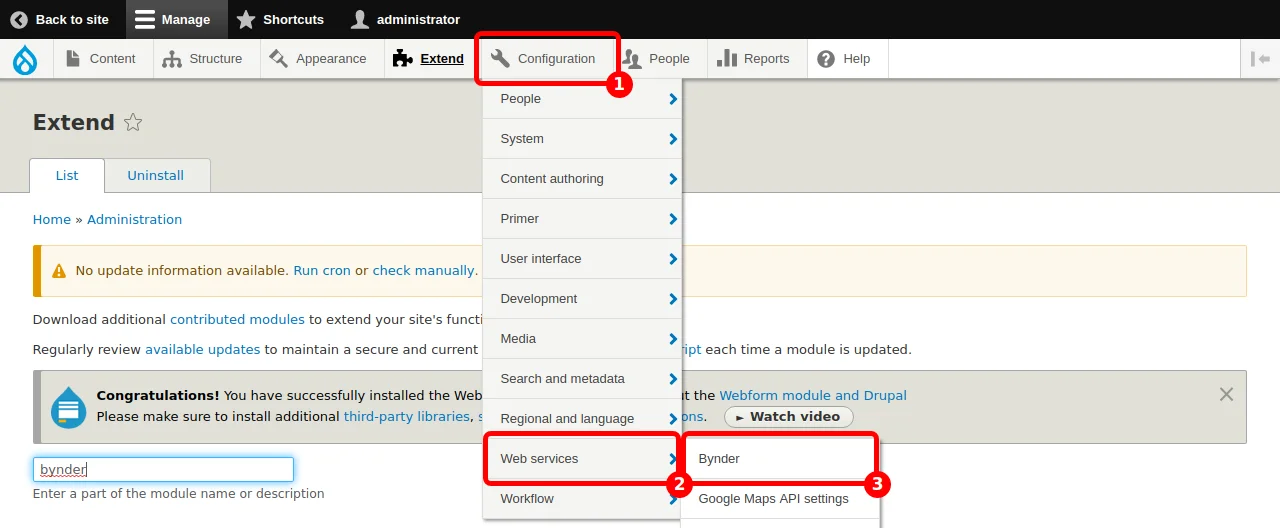
On your website, go to Configuration > Web Services > Bynder.
Fill in the required API fields with your Bynder access permanent token and account domain. See this chapter for details on how to get a permanent token. The account domain is the address that you use to connect to your Bynder account. It should read like yourdomain.getbynder.com.
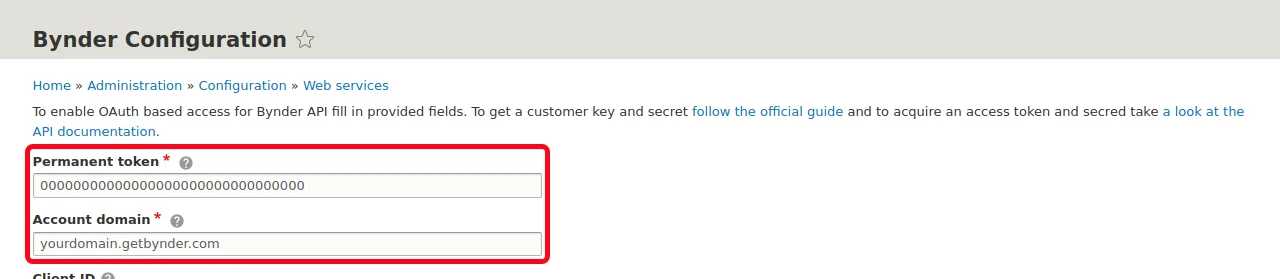
Check that everything is working by clicking on "Test connection".

If the connection test fails, the tokens you provided are not correct. Make sure that your Bynder instance is allowed to connect to the Drupal service. Contact Bynder Support if the problem persists.


Drupal set up to enable upload
The default setup allows you to access Bynder assets on your Drupal website, but not to upload new media directly from Drupal onto your Bynder instance. Follow these steps to set this up.
Note: It is always preferred to use your Bynder Portal's upload features instead of uploading assets through Drupal.
On your website, go to Configuration > Web Services > Bynder.
Fill in the Client ID and the Client secret token with information from your Bynder account. Follow these steps to set them up.
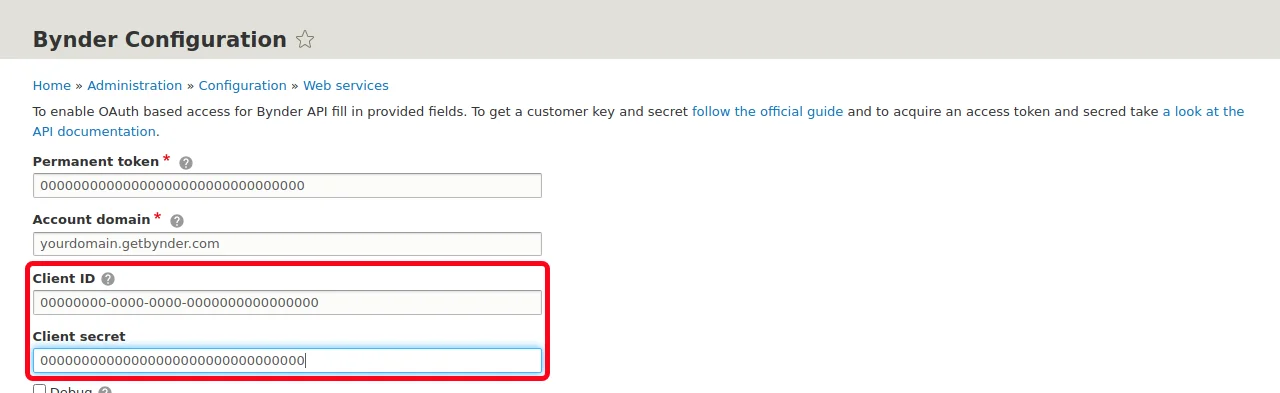
Control that the connection is working by clicking on "Test connection".
Create a permanent token on Bynder.com
This chapter explains how to create a permanent token to link your Drupal website to your Bynder instance.
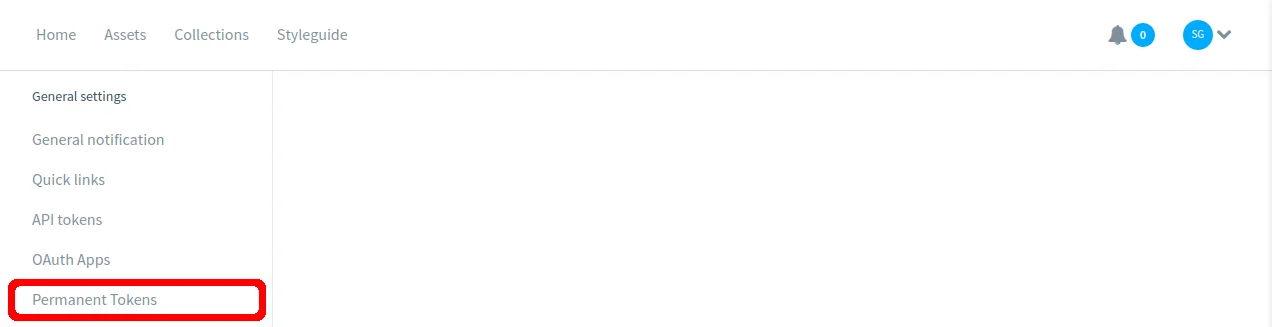
On your Bynder profile (on yourdomain.getbynder.com), go to Settings > Advanced Settings > Portal settings.

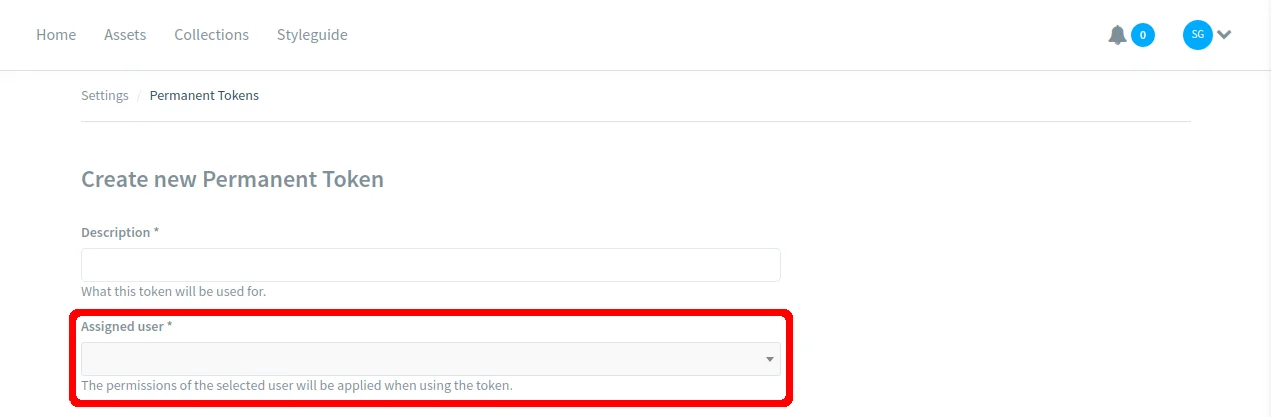
Choose "Permanent token", and create a new permanent token.
Select the user that the system will act as.
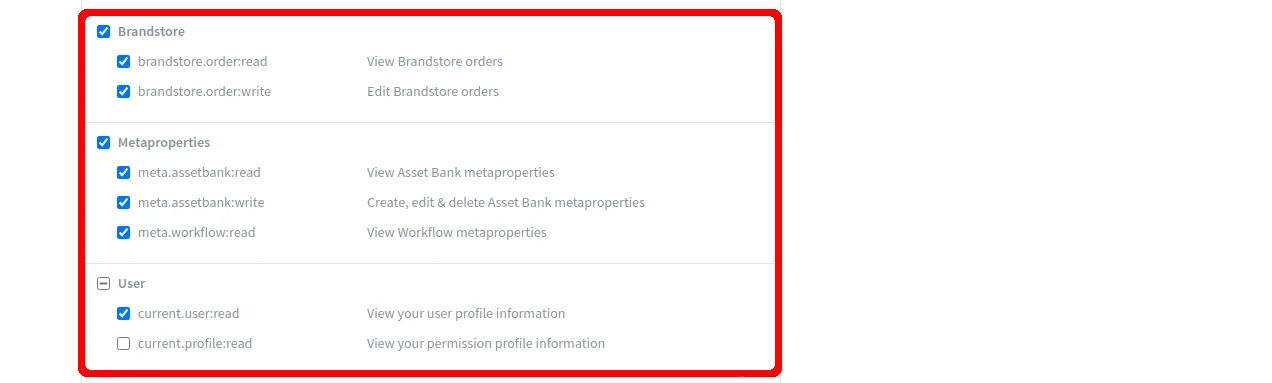
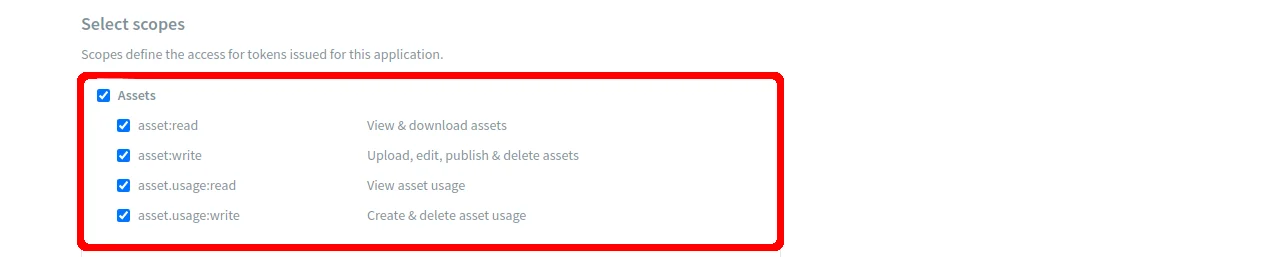
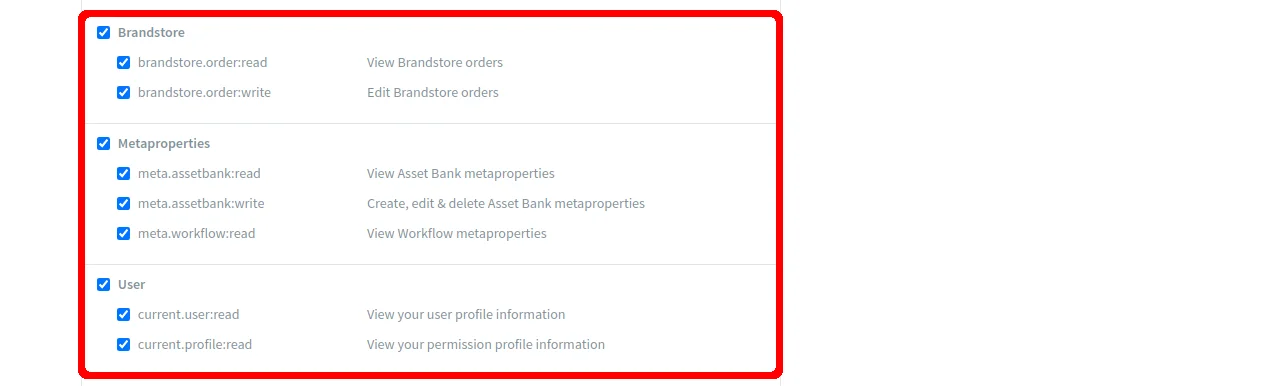
Select the options: Assets, Brandstore, Metaproperties, and User/current.user:read.

You will then be assigned a permanent token. Write it down. You will not be able to access it later.
This is the token that you have to provide step 3 of the first chapter.
Generate an OAuth token on Bynder.com
This chapter explains how to create a Client ID and a Client secret to link your Drupal website to your Bynder instance.
On your Bynder profile(on yourdomain.getbynder.com), go to Settings > Advanced Settings > Portal settings.
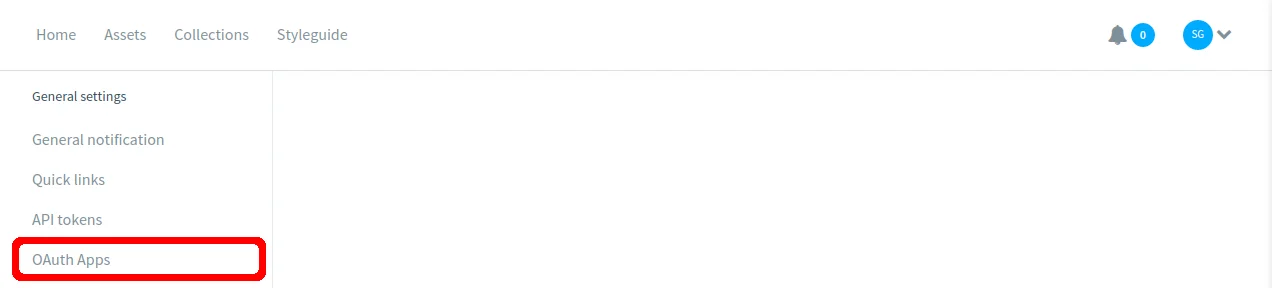
Choose "OAuth Apps", and create a new app.
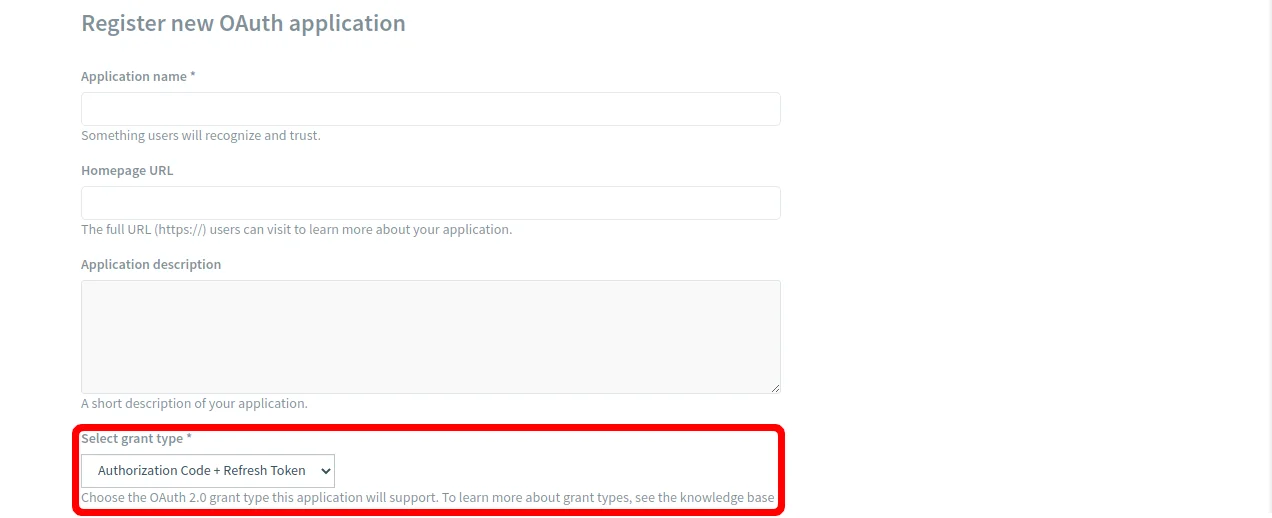
Select the Grant Type: Authorization code + Refresh token.
Set the redirect link. It should read like: https://yourdomain/bynder-oauth.

Select the options: Assets, Brandstore, Metaproperties, and User (both options).
Creating the OAuth App will provide you with both the Client ID and the Client secret. Write them down. You will not be able to access the Client secret key afterwards.
These are the two keys needed to set up your Drupal website on step 2 of this chapter.