When installing Webdam, you can choose to enable its demo module as well (drush en webdam_demo), which will add a new Content type "webdam_example", a configured entity browser and document and video media types. You can use this example configuration to quickly try out the Webdam integration, but for actual websites, we recommend to create the necessary configuration yourself since you will certainly have your existing content types and more specific requirements.
To perform the first configuration of Webdam on your website, you will need to make sure that:
- At least one Media Type is present
- your Content Types contain Media Entity Reference
- You use an Entity Browser Widget to select and optionally upload Webdam assets
Media Type
The Webdam module uses Media entities to store information about Webdam assets that can then be used in Drupal. Unlike media types that store their asset locally, the Webdam media types just store the Webdam asset ID and some metadata like the URL for the different variations of an image. Only a small preview of the asset is stored locally, for the media library.
As the image is not stored locally, it is not possible to use the Drupal Image Style system, instead, formatters are provided that allow to display the image in one of the variations (derivatives) provided by Webdam or as a link, for documents.
Check at Admin > Structure > Media that the Webdam Media Type is present.

If you want to also use document assets from Webdam, create a "Webdam Document" media type and configure it with the Webdam document formatter. You can similarly create a "Webdam Video" media type and configure it with the Webdam video formatter. In some specific cases, you may want to create more Media Types depending on your needs.
Note that currently, only one image, document and video media type can be used per entity browser configuration.
Follow these steps if you need to create a new Media Entity Type. Choose "Webdam" as Media source.
Reference Entities in Content
Second, your Content types (or Paragraph types or other content structures) should contain a field of type: Entity reference with a target type of Media.
If you are already using media entities, then this will already be present and you need to instead make sure that the Webdam media types are allowed to be selected either exclusively or additionally, depending on your use cases.
In your Content structure, go to the "Manage fields" page. The url should look like: admin/structure/types/manage/your_content/fields.
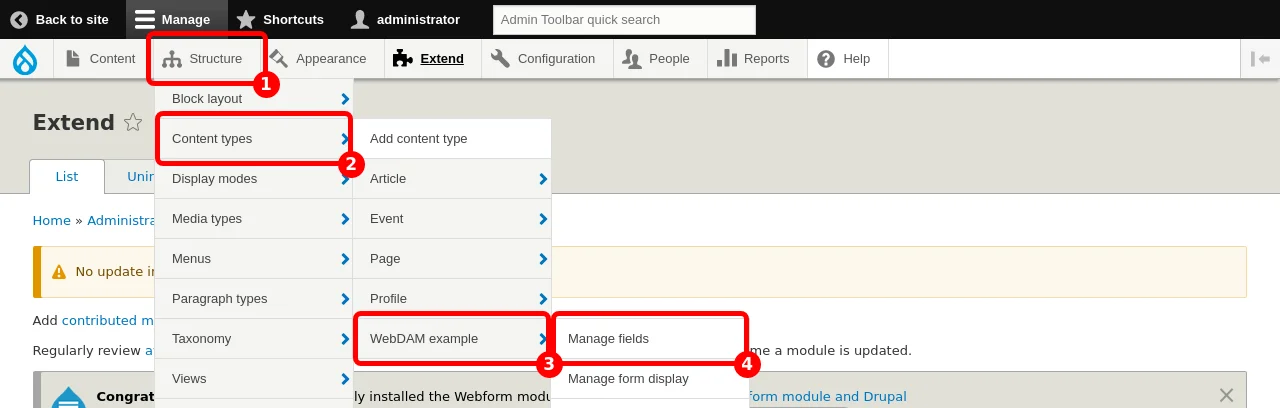
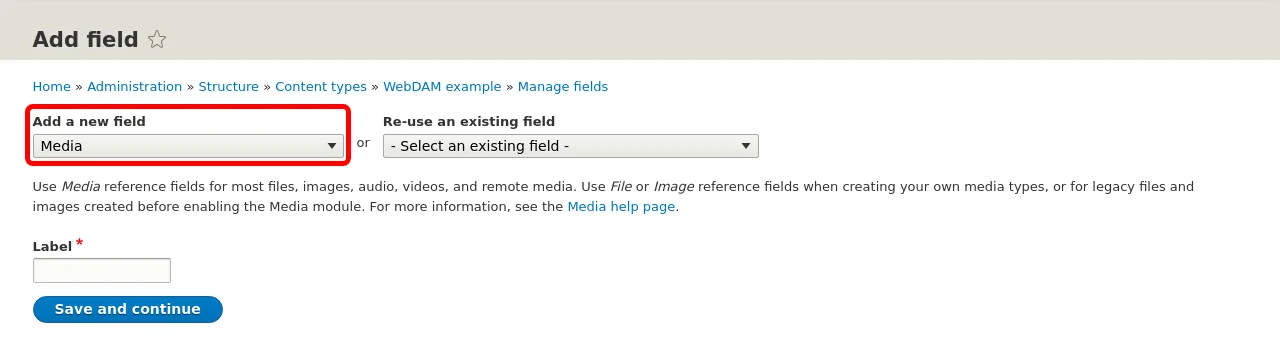
Create a new media reference field by clicking on "Add field".

Then create a new Media reference or select an existing field.
Alternatively, for an existing field, edit the field to verify the bundle settings.

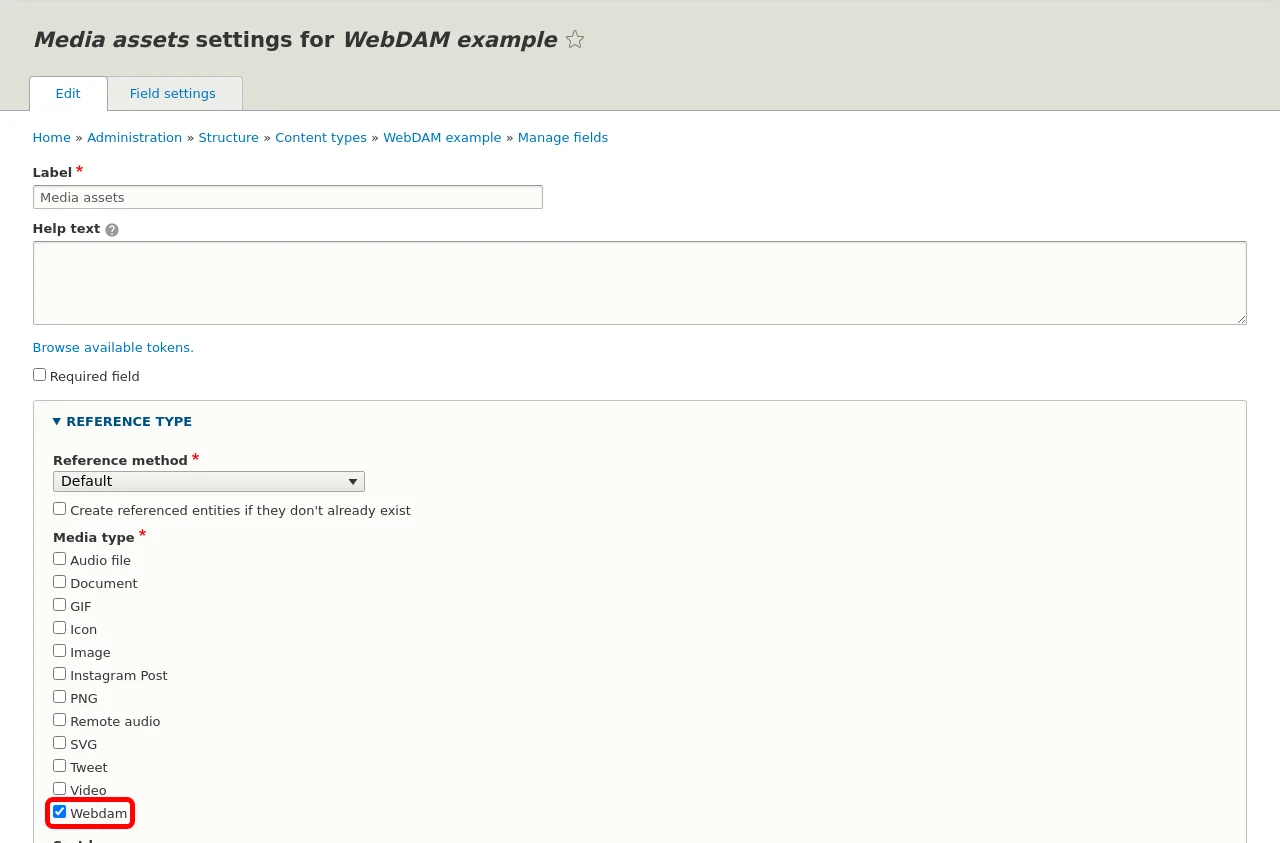
After creating a field or editing an existing one, ensure that your Webdam media types are allowed on the field settings page.
Entity Browser / Widget
The last step of the initial configuration is to make sure that you can access the proper media when creating content.
The Webdam module integrates with Entity Browser and provides two Widgets, one to select existing assets using the Webdam CompactView integration and an optional widget to upload new assets directly into Webdam from your Drupal installation.
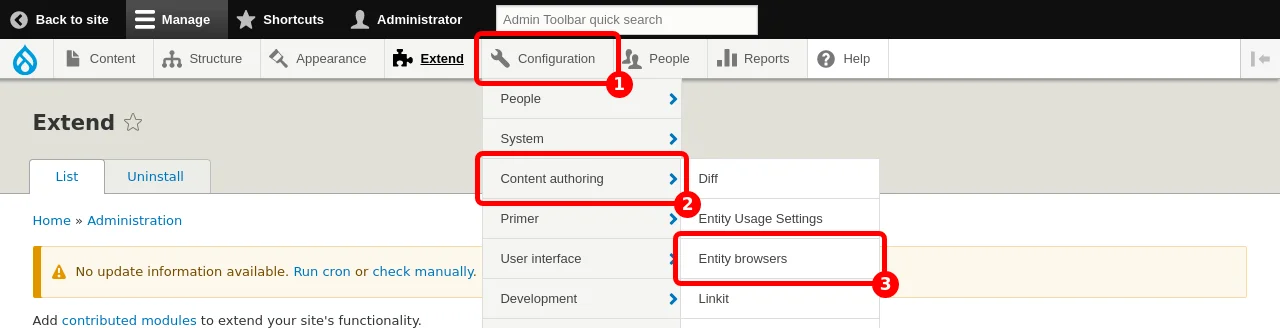
In Admin > Configuration > Content authoring > Entity Browsers, look for the Entity Browser that you use for the Content Entity Type you are editing.
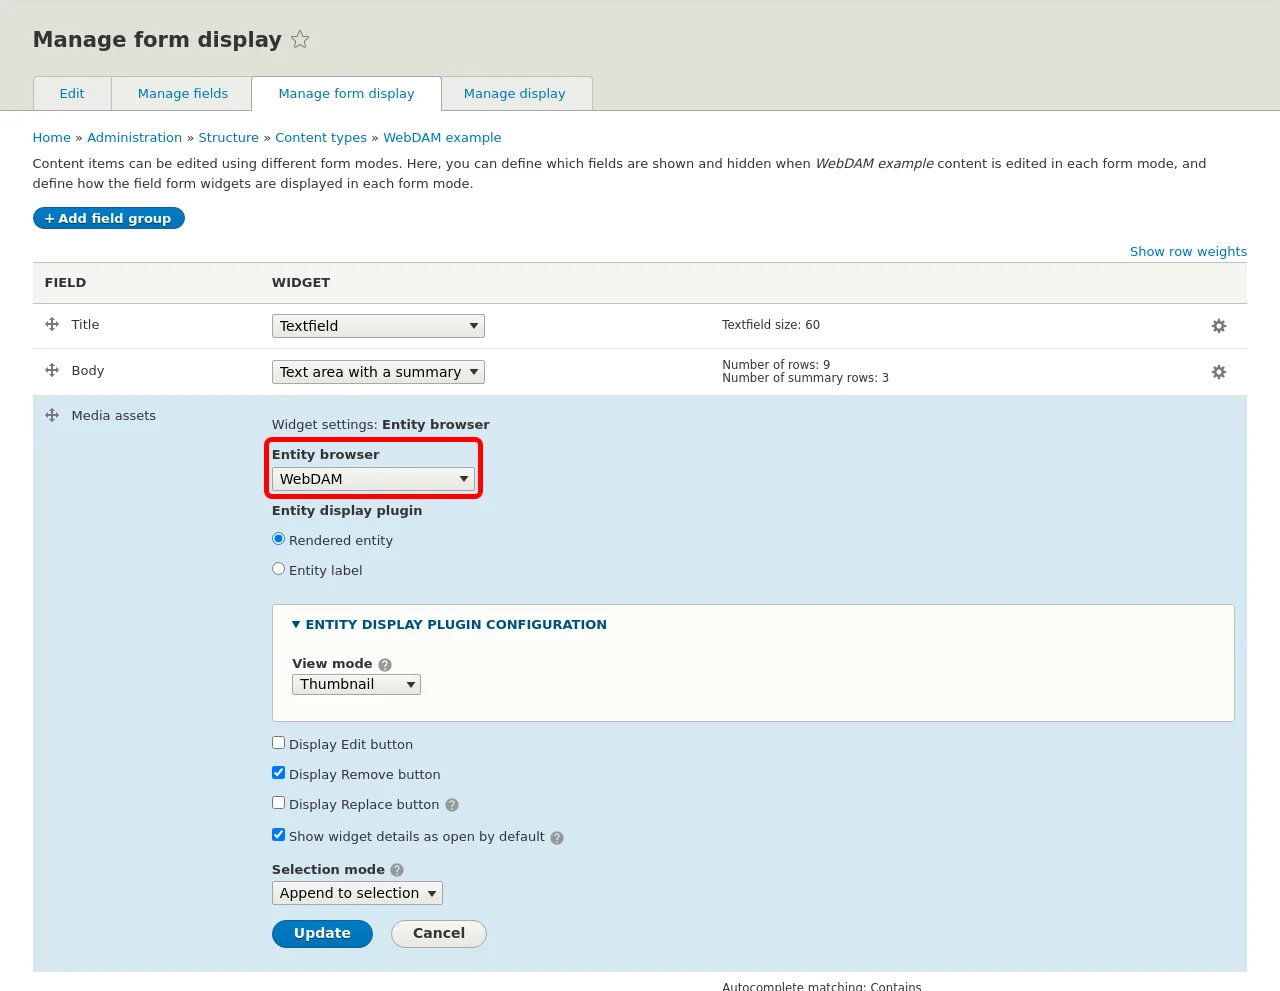
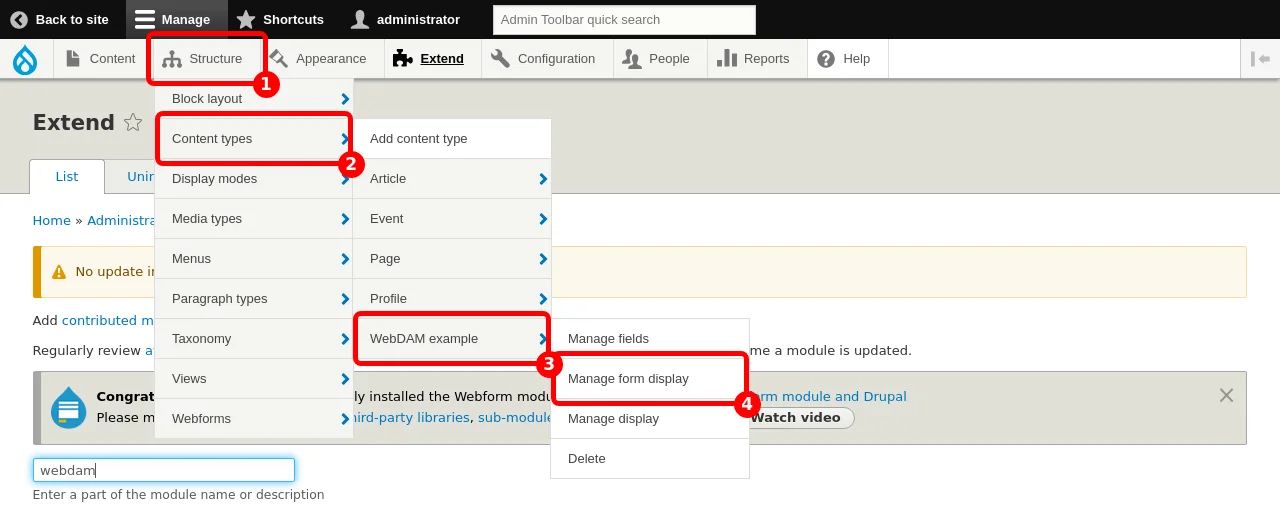
Tip: if you are not sure which Entity Browser is used for the Content Entity Type, go to Admin > Structure > Content Types > your_content > Manage Form Display. Then, find the Entity Browser field; the dropdown menu called "Entity browser" will tell you which one it is.
Edit the proper Entity Browser, go to the "Widget Settings" tab, and add a new widget plugin: "Webdam search". The settings of this widget plugin are explained there.
You can optionally add the widget plugin "Webdam upload", which will allow users to upload media to Webdam directly from the website. See this page for more details.

If you had to create a new Entity Browser, do not forget to link it to the Content Entity Type. Go to Admin > Structure > Content Types > your_content > Manage Form Display.
Make sure the Entity Browser widget is selected: click on the gears to modify the Entity Browser field and select the new Entity Browser. Adjust the other settings per your preference, to for example display a preview of the media entity while editing.